Workflow Rules Group
The Workflow Rules ribbon group provides the functions that operate on the workflow list, the workflow rule, or the classification specifically highlighted in the workflow rules list. These functions include creating, editing, and otherwise managing the rules and classifications.
|
In this article |
Rule Button
A rule is a user defined set of criteria used to automatically perform an action, assign a classification and user to results after they have been imported into the Console, and to specify notifications to be sent when the rule is triggered. Rules are displayed by their name by default and multiple rules can exist with the same classification. Additionally, rules can only assign results and not change the classification and these results are displayed under the "None" classification. The rules are executed when the Run Workflow Rules service job is executed.
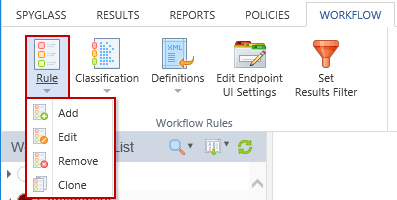
Add
Add allows you to create a new Workflow Rule used to assign and classify results. Clicking Add opens the Workflow Rule wizard set to the Workflow Rule tab. This tab includes a field for the workflow rule Name (any unique, alphanumeric label) and a field for the Description of the workflow rule. For details on creating a Workflow Rule see the Workflow Rule Wizard.

Edit
Edit is only enabled after cancel or finish is clicked in the wizard as this causes no rule to be selected. In all other cases, selecting a rule name opens the wizard in edit mode for that rule. If you are editing a rule and click either the Cancel button or the Finish button, the selected rule remains highlighted in the Workflow Rules List and Edit is no longer disabled.

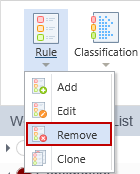
Remove
Removing a Workflow Rule permanently deletes that rule and prevents any future results from matching on that rule. To remove a Workflow Rule select the rule that you wish to remove by clicking on it and then click the Remove option from the Rule button drop-down. To select multiple rules to remove, hold down the Ctrl key and single left-click each rule, then click Remove. When removing a rule, a confirmation dialog displays confirming that you wish to delete the selected rule(s). Click Yes to confirm and the selected rule(s) is deleted. Click No to cancel the deletion.
Clone
The easiest way to create a new rule is to start with a similar, existing rule and make any necessary changes. Cloning makes a copy of the selected rule and prompts you to enter a new name. Enter a new name and click OK and the Workflow Rule wizard opens set to the Workflow Rule tab. For details on creating a Workflow Rule see the Workflow Rule Wizard. Click the Cancel button to abort the cloning.

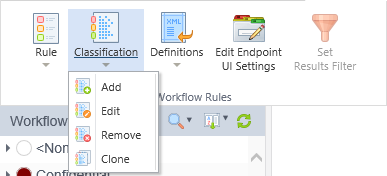
Classification Button
A classification level is a user defined attribute that allows results to be identified together for reviewing or reporting. The classification of a result can be viewed visually as a column in the Results view, with the color and name in the Results Details, and as a name in Reporting.
Classification can be assigned to results that match a specific workflow rule when the Run Workflow Rules service job executes or manually at any time by double clicking on a result in the Results view and selecting the desired classification.
Add
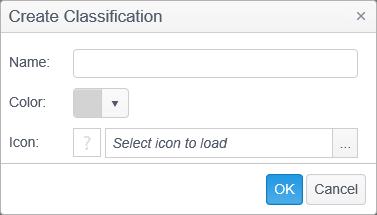
Add allows you to create a new Classification.

Clicking Add opens the Create Classification dialog with a field to enter the classification name, a drop-down box to select a color to associate with the classification, and a browse button to select an icon to represent the classification (icons greater than 5120 bytes are not displayed). (Beginning with version 9.1 of the Console, there is a set of icons included that you may use which are located in the following location: C:\Program Files\Identity Finder Console\wwwroot\Console\Images.) The color or the icon displays in the Classification column on the results view, the workflow rules list, the classify results dialog, and the result details dialog for results matching this classification. It is not necessary to select an icon. To remove an icon once uploaded, click on the icon and a dialog displays confirming that you would like to clear the existing icon. If an icon has been selected, you can configure whether to display the icon or the color with the Display Classification Icons setting on the Application Settings tab. Click OK to create the classification. Click Cancel and the classification is not created. If you click OK without entering a value in the Name field an error displays the following: "The Name field is required".
Edit
To modify an existing classification, select the classification that you wish to edit by clicking on it and then click Edit from the Classification button drop-down.

Clicking Edit displays the Edit Classification dialog. Make the desired changes and click OK to save the changes or Cancel to discard the changes. The ID field allows you to copy the Classification ID for use in other applications such as McAfee Host DLP. For example, you can use McAfee Host DLP to prevent a file with this classification from being copied to another device. To copy the ID, select it by clicking in the ID field and press CTRL+A and then copy it by pressing CTRL+C.

Remove
To remove a Classification, select the classification that you wish to remove by clicking on it and then click the Remove button. When removing a classification, any rules that exist within the classification are also deleted.
A confirmation dialog displays confirming that you wish to delete the selected classification and all of its rules. Click Yes to confirm and the selected classification and its rules are deleted. Click No to cancel the deletion.

Clone
The easiest way to create a new classification is to start with a similar, existing classification and make any necessary changes.
Cloning makes a copy of the selected classification and prompts you to enter a new name. When cloning a classification, any rules that exist in the classification being cloned are also cloned and placed in the new classification. Click the Cancel button to abort the cloning.

Definitions
Import or export the definition of a Workflow rule in XML format for offline viewing, distribution, or for importing and processing by another application. A Workflow rule definition contains the information in the Workflow Rule and Definitions tabs of the Workflow Wizard as well as any Classification assignment.

Import
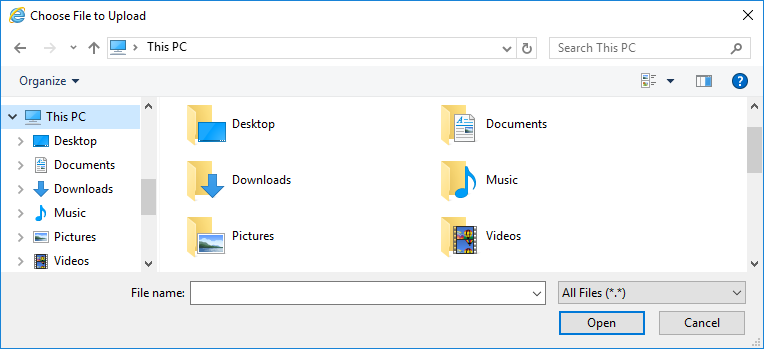
To import a workflow rule from an XML file select Import to display the Import dialog.
Then use the file selection dialog to locate the workflow definitions xml file on disk.
Export
To export a workflow rule to an XML file, select Export to display the Export dialog. To export a workflow rule, you must first highlight the name of the rule to be exported or the export option is dimmed. You may select to export multiple workflow rules by holding the CTRL key while clicking on workflow rules.

As an example, for a rule named "Bank Information", the following dialog displays ensuring that you want to export the workflow rule definitions.

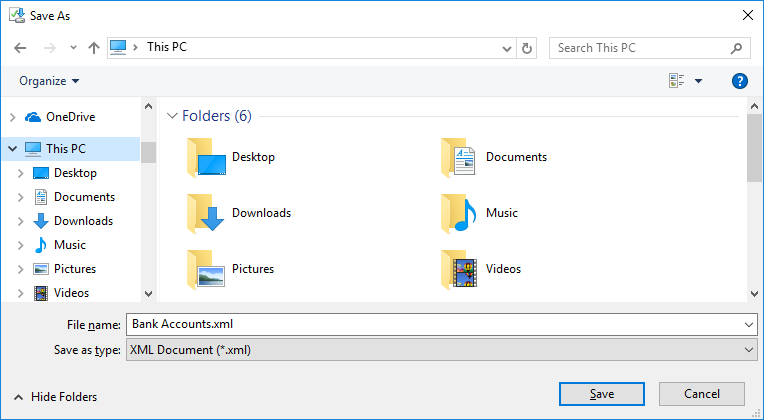
Click OK and then specify the desired location and file name and click Save.
Edit EndpointUI Settings
The Endpoint UI Settings provide the ability to configure the default position of the classification icon overlay within Windows Explorer and to configure an alternate icon position for files with specified extensions. This setting is also configurable on the Application Settings page.

Clicking Edit Endpoint UI Settings opens the the Windows Endpoint Classification UI Configuration dialog, displaying the available settings.

- Default Icon Position: The default position of the classification icon within Windows Explorer. The default value is Bottom Left. The following selections are available:
- Top Left
- Top Center
- Top Right
- Center Left
- Center Center
- Center Right
- Bottom Left
- Bottom Center
- Bottom Right
- Alternate Icon Position: The alternate position is always used for files with extensions listed in the Alternate Positions Extensions list. The default value is Top Left. The following selections are available:
- Top left
- Top Center
- Top Right
- Center Left
- Center Center
- Center Right
- Bottom Left
- Bottom Center
- Bottom Right
- Alternate Position Extensions: Specify which file extensions will use the Alternate Icon Position setting by entering each extension separated by a comma. The default value is avi,mov,flv,wmv,mpg,mp4.
Set Results Filter Button
The Set Results Filter button filters the Results Grid using the selected rule.
For example, if you want to see all results which match a particular rule, select the rule by left-clicking on it and then click on the Set Results Filter button. The Console view changes to the Results Grid and displays only those results which currently match the selected rule, and the Filter button in the Filters ribbon group is highlighted. To clear the filter, click Filter button and click Reset or click the Clear All Filters button. A result is marked as matching a rule when the Run Workflow Rules service job executes, but the information could be cleared if the Run Workflow Rules service job has run again and the result now matches a different rule, as there is no rule matching history.