Log Data Group
|
In this article |
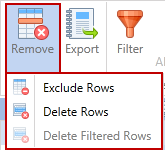
Remove Button
The Remove button provides options to prevent future messages of the selected type from being imported into the Console, and to permanently delete the selected rows or filtered log rows from the database.
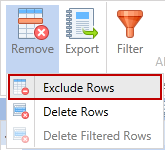
Exclude Rows
The Exclude Rows button prevents the selected type of message from being imported into the Console. It also provides the option of preventing any existing messages of the selected type, currently in the database, from displaying in the logs view. Additionally, you have the option to match on partial messages by placing an asterisk before or after the text in the "Message to Exclude" field. The Agents continue to provide this information but the Console ignores it when storing information in the database.
Note: This feature allows you to reduce the amount of information stored in the Console database (to maximize performance) without affecting the operation on the Agent.
To exclude rows
- Select the message to exclude and then click the Remove button
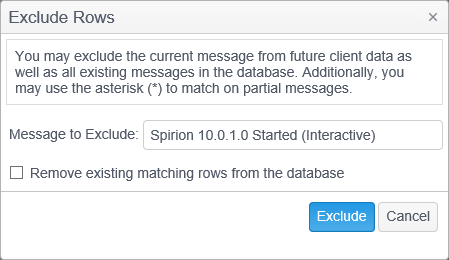
- Then click the Exclude Rows option. The Exclude Rows dialog box opens and the message that you selected displays in the "Message to Exclude" field.
- Place an asterisk before or after the text in the field to match on partial messages.
- If you also want to remove all occurrences of this message that are currently in the database, select the 'Remove existing matching rows from the database" checkbox.
- Click the Exclude button. A service job called "Purge Logs", deletes the selected rows and gets removed after successfully executing.
You can see a list of all the messages that have been excluded by going to the Admin tab, clicking on the Excluded Rows option and clicking on the Logs tab in the upper right. If there are any messages that you no longer wish to exclude from the logs view, you can remove those exclusions here.
Delete Rows
The Delete Rows button provides the ability to permanently remove the selected row from the database.
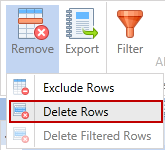
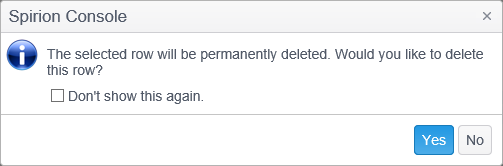
Select the message that you wish to delete by single left clicking it. Click the Remove button and then click the Delete Rows option. A confirmation dialog prompts you to ensure that you would like to delete the selected row. Click Yes to confirm the deletion or No to cancel the deletion.
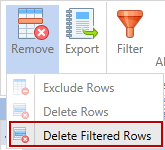
Delete Filtered Rows
The Delete Filtered Rows button provides the ability to delete only those rows that match the current filter. The Delete Filtered rows option is only enabled when you have filtering applied to one or more of the columns. With a filter is applied, click the Remove button and then click the Delete Filtered Rows option. A confirmation dialog prompts you to ensure that you wish purge the selected data. Clicking Yes creates a service job called "Purge Logs", which deletes the selected rows and is automatically removed after successfully executing.
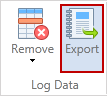
Export Button
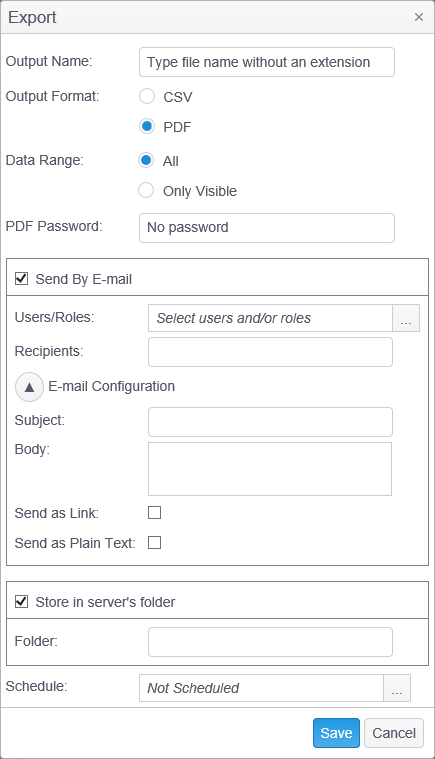
The Export button allows you to save the logs for the selected tag or endpoint(s) to a file or as an attachment to an email - once or on a recurring schedule. To export data, click the Export button and the Export dialog opens.
The Export dialog has the following fields:
| Field | Description |
|---|---|
| Output Name | The name of the file (without the extension) in which to save the exported logs. This is also used as the name of the attachment if you choose to Send by email and it is also used as the email subject if you do not enter a value in the Subject field. If you leave this field blank, when you click on the Save button a message displays, "The Output Name field is required." |
| Output Format | Choose CSV to save the data in a Comma-Separated Values text file or choose PDF to save the data in a Portable Document Format file. The CSV format is plain text and any sensitive information in the file is stored as clear text and the file itself should be treated as sensitive information. The PDF file format can be saved with or without a password; if a password is not used, any sensitive information in the file is stored as clear text and the file itself should be treated as sensitive information. |
| Data Range |
|
| PDF Password | Optionally enter a password to encrypt the PDF document and require the password to be entered when the PDF is opened. This option is only displayed if the selected Output Format is PDF. |
| Send by Email |
Enable this option to send the saved file via email. Either this option or Store in server's folder must be selected if the export is to be scheduled. In order to email an export, you first need to configure SMTP settings in the CAT.
|
| Store in server's folder | The destination folder name in which to save the exported data. This folder must exist or the Console reports "The folder does not exist." The account context under which the Console is running (by default NETWORK SERVICE) and the Users group must have write permissions or the Console reports "The Console has insufficient write permissions to the folder." Either this option or Send by email must be selected if the export is to be scheduled. |
| Schedule | To schedule the export to run on a periodic basis, click the "..." button to the right of Schedule to display the Edit Export Schedule dialog. |