Excluded Rows Content
Console allows you to define data to never display (exclude from viewing) in the Console. The data to never display in the Console is still reported by the Agent software, but the Console does not save the data into its database, reducing database space and improving performance. This allows end users of the Agent software to still see these results in their user interface, without having that information stored in the Console database. The excluded rows content consists of a Results tab and a Logs tab. You may sort the columns in both the Results tab and Logs tab by clicking on a specific column header to toggle between ascending, descending and no sort. Any column which has sorting on it displays an up arrow or a down arrow in the center of the column header indicating ascending or descending, respectively. No arrow indicates that column is not sorted. When you click on a column header to set a sort it removes any previous sorting from all other columns. You can reorder the columns by clicking on the column header and dragging and dropping them to the left or right.
|
In this article |
Results
Specific results data can be excluded from the Console. If the endpoint sends any data specified as an Excluded Row, the data is not imported into the Console's database. There are two methods to Exclude Rows:
- Click on a row in the Results Grid, click the Remove ribbon button and select Exclude Rows.
- Select Excluded Rows within the Admin tab, click Add to display the Exclude Rows dialog, and then add the selected information.
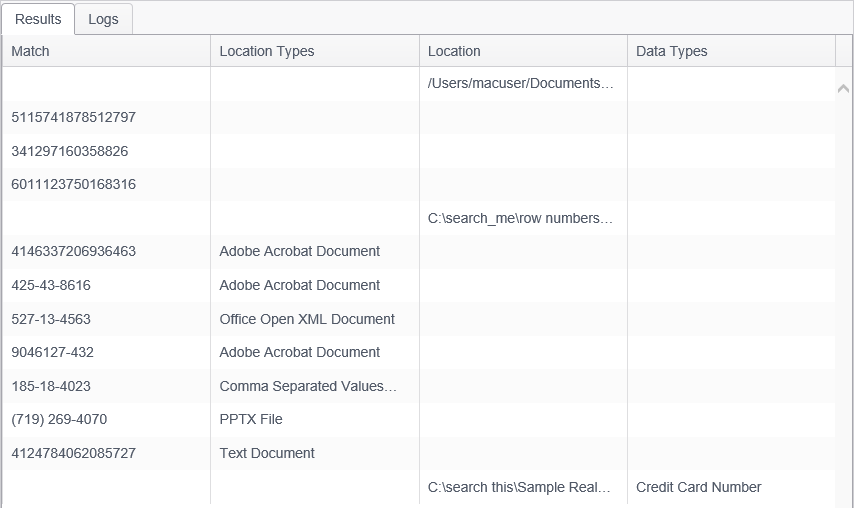
The Results tab consists of the following columns:
- Match: This is the specific match that has been excluded.
- Location Type: This is the specific type of location that has been excluded.
- Location: This is the specific location that has been excluded.
- Data Types: This is the specific data type that had been excluded. (SSN, CCN, phone number, etc.)
Logs
Specific log messages can be excluded from the Console. If the endpoint sends any log data specified as an Excluded Row, the data is not imported into the Console's database. There are two methods to Exclude Rows:
- Click on a row in the Log View, click the Remove ribbon button and select Exclude Rows.
- Select Excluded Rows within the Admin tab, select the Logs tab, click Add to display the Exclude Rows dialog, and then add the selected information.
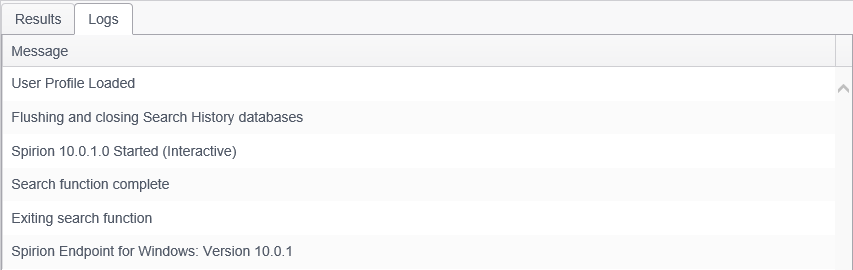
The Logs tab consists of the following column:
- Message: This shows the specific log message that has been excluded.