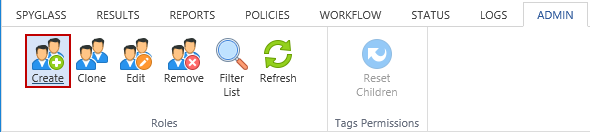
Roles Group
|
In this article |
Create Button
To create a new role, click the Create button.
Clicking Create displays the Create Role dialog box.
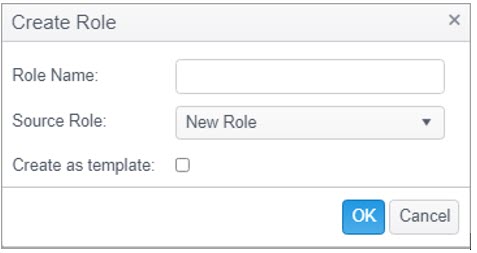
- Role Name: Enter a name for the role. This name will be displayed in the Names/AD Groups list. This field is required.
- Source Role: Select the source for the list . The Source Role drop down will give you the option of selecting a New Role or a template which you have previously created. Selecting New Role will have all general permissions and tags permissions disabled by default, but allow you to enable each permission as you require. Selecting one of your templates will have the new role created with all general permissions as you have them set in your template and all tags permissions disabled by default, but you will be able to enable or disable any of the permissions as required in the new role.
- Create as template: If you select the Create as template option, the new role will be created as a template which you can use a source role to create new roles. By selecting Create as template, the template will be created without any tags permissions. New roles created from your template will have all tags permissions disabled by default, but you will be able to enable or disable the tags permissions as required.
- AD Groups:To add AD groups to the role, manually enter the path to the AD group. The users in the AD groups will become the members of the role. The AD Group needs to be at the top level OU.
When you are finished, click OK and the new role will be saved and will display in the list of Names/AD Groups list.
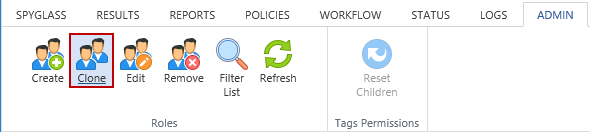
Clone Button
To clone an existing role, click the Clone button.
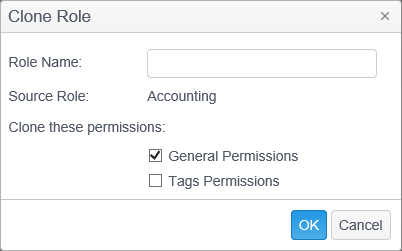
Clicking Clone displays the Clone Role dialog box.
Enter a name for the new role and select whether you want to clone the General Permissions and the Tags Permissions by placing a check mark in the respective boxes and click OK.
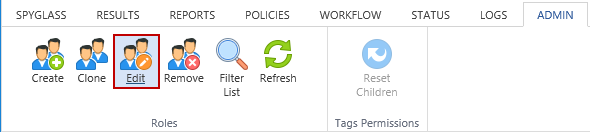
Edit Button
To edit an existing role, click the Edit button.
Clicking Edit displays the Edit dialog. Enter a new name for the role and click OK.
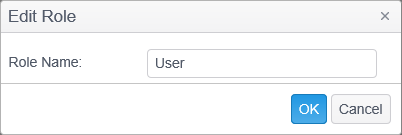
Note: The Administrator role cannot be edited.
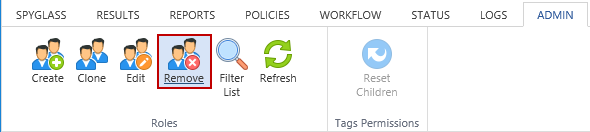
Remove Button
The Remove button permanently deletes the selected Role and cannot be reversed.
A prompt displays to confirm that you want to delete the selected role.
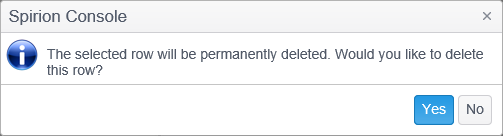
Note: The Administrator role cannot be removed.
Filter List Button
The Filter List button allows you to modify the Name/AD Groups List to only display roles that contain the text provided in the filter. The filter operates only on the role name.
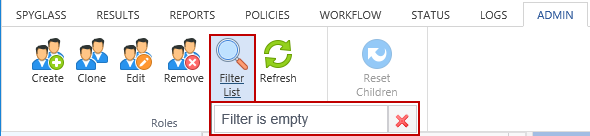
To use this filter:
- Click the bottom part (the down arrow) of the Filter List button to display a text box.
- Type all or part of an endpoint name into the text box. To clear the current text, click the red X.
- To apply the filter, click the bottom part (the down arrow) of the Filter List button or press the Enter key.
- When the filter is applied, the top part of the button is highlighted.
- To clear the filter, click the top half of the Filter List button or the red X next to the text box. The Filter List button loses its highlight.
When a filter is applied, only the roles whose name matches all or part of the specified text are displayed in the Name/AD Groups.
Refresh Button
Click the Refresh Button to update the roles and permissions to reflect any changes since the last logon or refresh.
